

Introduction
2025 JS Encapsulation and Inheritance – JavaScript is a powerful programming language that follows Object-Oriented Programming (OOP) principles. Two important concepts in OOP are Encapsulation and Inheritance, which help in structuring code efficiently and improving reusability.

JavaScript Encapsulation: A Complete Guide
Encapsulation is one of the fundamental principles of Object-Oriented Programming (OOP). It plays a crucial role in JavaScript by allowing developers to bundle data and methods together while restricting direct access to certain parts of the code. This enhances security, improves maintainability, and helps prevent accidental modifications.
What is Encapsulation?
Encapsulation refers to the process of hiding data and restricting direct access to object properties while allowing controlled interaction through predefined methods. This prevents external interference and ensures that objects maintain their integrity.
In JavaScript, encapsulation can be achieved using:
- Using Closures (Private Variables)
- Using ES6 Classes with Private Fields and Methods
- Using Getters and Setters for Controlled Access
Why is Encapsulation Important?
Encapsulation provides several benefits:
- Data Security: Prevents accidental modification of sensitive data.
- Code Maintainability: Improves code organization and readability.
- Encapsulation Enforces Control: Allows validation and control over property access.
- Prevents Global Namespace Pollution: Reduces conflicts by keeping data within defined scopes.
Now, let’s dive into the different ways to implement encapsulation in JavaScript.

1. Encapsulation Using Closures (Private Variables)
JavaScript allows encapsulation using closures. A function can act as a container, keeping certain variables private while exposing methods for controlled access.
Example:
function BankAccount(initialBalance) {
    let balance = initialBalance; // Private variable

    return {
        deposit: function(amount) {
            if (amount > 0) balance += amount;
            else console.log("Deposit must be a positive number.");
        },
        withdraw: function(amount) {
            if (amount > 0 && amount <= balance) balance -= amount;
            else console.log("Invalid withdrawal amount.");
        },
        getBalance: function() {
            return balance;
        }
    };
}

const account = BankAccount(1000);
console.log(account.getBalance()); // Output: 1000
account.deposit(500);
console.log(account.getBalance()); // Output: 1500
account.withdraw(2000); // Output: Invalid withdrawal amount.
Explanation:
- The
balancevariable is private and cannot be accessed directly from outside. - Only
deposit(),withdraw(), andgetBalance()methods provide controlled access.
2. Encapsulation Using ES6 Classes (Private Fields & Methods)
With ES6, JavaScript introduced class syntax and later added private fields (using # syntax) to enable proper encapsulation.
Example:
class BankAccount {
    #balance; // Private field

    constructor(initialBalance) {
        this.#balance = initialBalance;
    }

    deposit(amount) {
        if (amount > 0) this.#balance += amount;
        else console.log("Deposit must be positive.");
    }

    withdraw(amount) {
        if (amount > 0 && amount <= this.#balance) this.#balance -= amount;
        else console.log("Invalid withdrawal amount.");
    }

    getBalance() {
        return this.#balance;
    }
}

const myAccount = new BankAccount(2000);
console.log(myAccount.getBalance()); // Output: 2000
myAccount.deposit(500);
console.log(myAccount.getBalance()); // Output: 2500
myAccount.withdraw(3000); // Output: Invalid withdrawal amount.
console.log(myAccount.#balance); // Error: Private field is not accessible
Explanation:
- The
#balancefield is truly private and cannot be accessed outside the class. - The
deposit(),withdraw(), andgetBalance()methods allow controlled interaction.
3. Encapsulation Using Getters and Setters
We can use getter and setter methods to control access and validate data before modification.
Example:
class User {
    constructor(name, age) {
        this._name = name;
        this._age = age;
    }

    get age() {
        return this._age;
    }

    set age(newAge) {
        if (newAge > 0) this._age = newAge;
        else console.log("Age must be positive.");
    }
}

const user = new User("Alice", 25);
console.log(user.age); // Output: 25
user.age = 30; // Updating age
console.log(user.age); // Output: 30
user.age = -5; // Output: Age must be positive.
Explanation:
_ageis a private-like property (not truly private but conventionally treated as private).get age()allows reading the value.set age(value)enforces validation before updating the property.
Real-Life Example of Encapsulation
Imagine an online shopping cart system where a user adds items but cannot directly modify the total price. Instead, the system automatically updates the total based on the added items.
class ShoppingCart {
    #items = [];

    addItem(item, price) {
        this.#items.push({ item, price });
    }

    getTotal() {
        return this.#items.reduce((total, item) => total + item.price, 0);
    }
}

const cart = new ShoppingCart();
cart.addItem("Laptop", 1000);
cart.addItem("Mouse", 50);
console.log(cart.getTotal()); // Output: 1050
console.log(cart.#items); // Error: Private field is not accessible
Encapsulation Benefits in This Example:
- Users cannot manually change the total price.
addItem()ensures that items are properly added.getTotal()provides a controlled way to retrieve the total price.
Advantages and Disadvantages of Encapsulation
Advantages:

- Data Protection: Encapsulation prevents direct modification of critical data, reducing the chances of unintended changes.
- Improved Maintainability: By restricting direct access, the code remains structured and easier to manage.
- Better Modularity: Each object manages its own state and logic, making it reusable and scalable.
- Increased Security: Sensitive information is hidden from unauthorized access, ensuring data integrity.
- Controlled Access: Encapsulation allows controlled modifications and data validation using getter and setter methods.
Disadvantages:
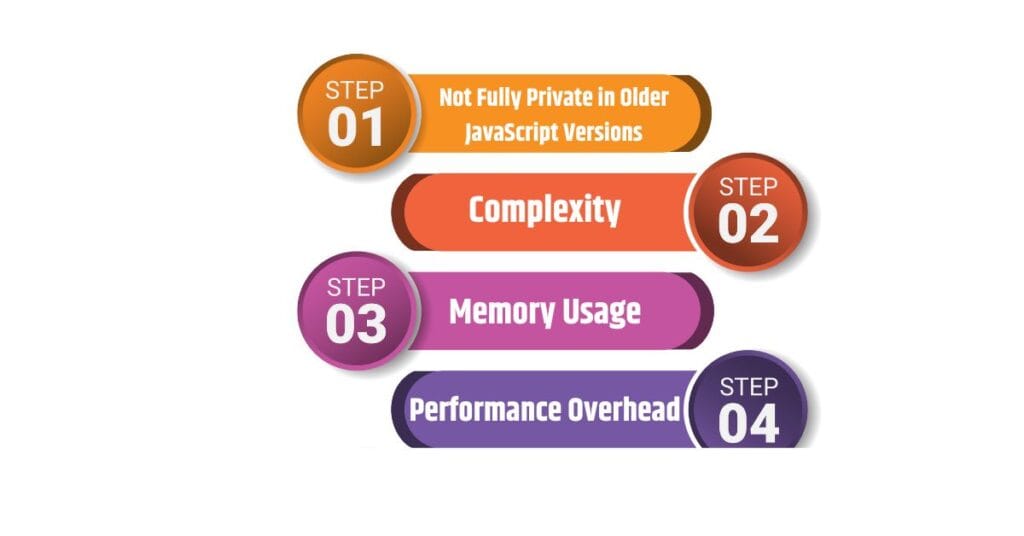
Not Fully Private in Older JavaScript Versions: Before ES6, JavaScript lacked a true private field system, requiring workarounds like closures.
Complexity: Implementing encapsulation requires additional coding effort, especially for large applications.
Memory Usage: The use of closures can lead to increased memory consumption due to function scopes retaining references.
Performance Overhead: Accessing data through getter and setter methods can be slightly slower compared to direct property access.
FAQs
1. Can we achieve full encapsulation in JavaScript?
Yes, using private fields (# syntax) in ES6 classes provides true encapsulation.
2. Why should I use encapsulation?
Encapsulation protects data, improves code readability, and prevents accidental modifications.
3. Can we use encapsulation in functional programming?
Yes, encapsulation can be achieved using closures in functional programming.
4. Is _property a private variable in JavaScript?
No, _property is just a naming convention. Only #property is truly private in ES6 classes.
5. How does encapsulation improve security?
Encapsulation hides internal data, ensuring that external code cannot directly modify critical properties.
JavaScript Inheritance: A Complete Guide
Inheritance is a fundamental concept in Object-Oriented Programming (OOP) that allows one class to derive properties and methods from another. JavaScript, being a prototype-based language, implements inheritance using prototypes and ES6 classes.

What is Inheritance?
Inheritance is a mechanism that enables an object or class to acquire the properties and behaviors of another object or class. This promotes code reusability and establishes a hierarchical relationship between different entities in a program.
In JavaScript, inheritance can be achieved in two ways:
- Prototype-Based Inheritance (Traditional JavaScript approach)
- Class-Based Inheritance (Introduced in ES6)
Let’s explore these approaches in detail.
Why is Inheritance Important?
- Code Reusability: Inheritance allows developers to reuse existing code, reducing redundancy.
- Improved Maintainability: Changes made to the parent class automatically reflect in the child classes.
- Better Organization: Establishes a structured hierarchy in the codebase.
- Enhances Scalability: New functionalities can be added easily by extending existing classes.
1. Prototype-Based Inheritance
JavaScript is a prototype-based language, meaning every object has an internal reference to another object, called its prototype. When a property or method is not found in an object, JavaScript looks for it in the prototype chain.
Example:
function Person(name, age) {
    this.name = name;
    this.age = age;
}

Person.prototype.greet = function() {
    console.log(`Hello, my name is ${this.name}.`);
};

function Student(name, age, grade) {
    Person.call(this, name, age);
    this.grade = grade;
}

Student.prototype = Object.create(Person.prototype);
Student.prototype.constructor = Student;

const student1 = new Student("Alice", 20, "A");
student1.greet(); // Output: Hello, my name is Alice.
Explanation:
Personis a constructor function with a method added to its prototype.StudentcallsPersonusingcall()to inherit its properties.Student.prototype = Object.create(Person.prototype);linksStudenttoPerson.- This enables
Studentto inherit methods fromPerson.
2. Class-Based Inheritance (ES6)
ES6 introduced the class syntax, making inheritance easier and more readable.
Example:
class Person {
    constructor(name, age) {
        this.name = name;
        this.age = age;
    }
    greet() {
        console.log(`Hello, my name is ${this.name}.`);
    }
}

class Student extends Person {
    constructor(name, age, grade) {
        super(name, age); // Calls the parent constructor
        this.grade = grade;
    }
}

const student2 = new Student("Bob", 22, "B");
student2.greet(); // Output: Hello, my name is Bob.
Explanation:
- The
Personclass contains the common properties and methods. StudentextendsPersonusingextends.super(name, age);calls the constructor of the parent class.
Advantages and Disadvantages of Inheritance
Advantages:
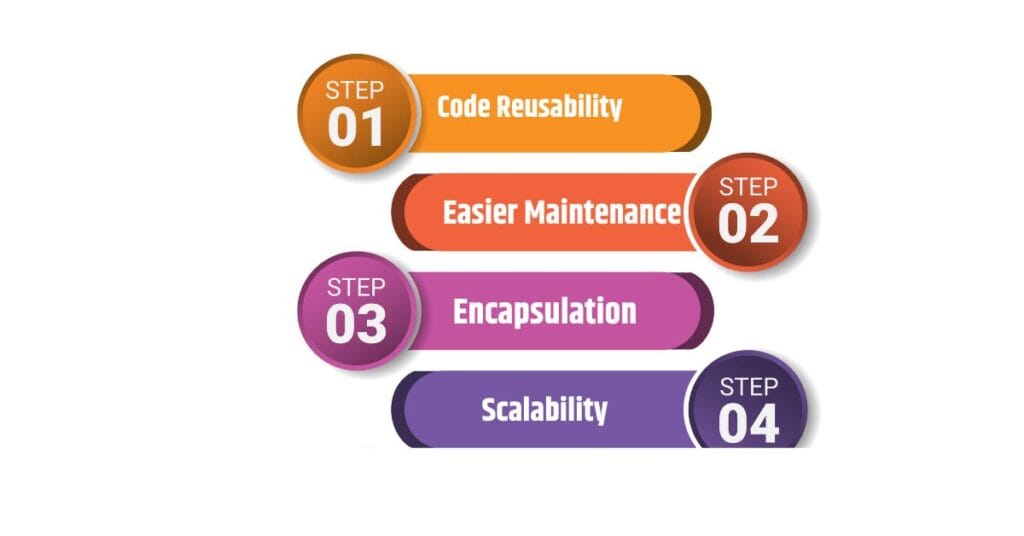
- Code Reusability: Avoids duplication by reusing code.
- Easier Maintenance: Changes to the parent class reflect in derived classes.
- Encapsulation: Groups related behaviors together.
- Scalability: New functionalities can be added with minimal code changes.
Disadvantages:
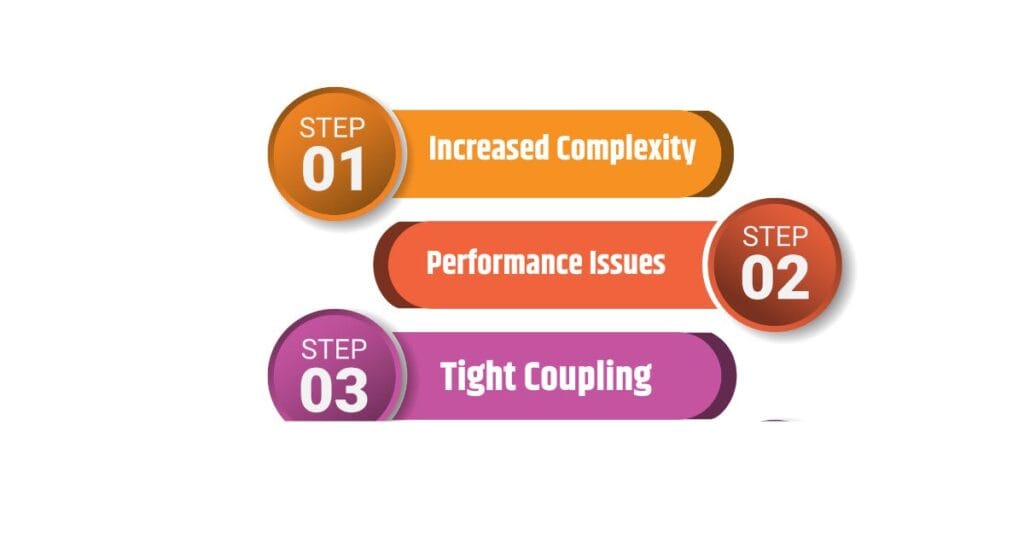
- Increased Complexity: Can make debugging difficult due to deep inheritance chains.
- Performance Issues: Lookup through prototype chains may slow down execution.
- Tight Coupling: Changes in the parent class can unexpectedly affect child classes.
FAQs
1. What is the difference between Prototype Inheritance and Class Inheritance?
Prototype Inheritance uses objects and prototypes to share properties, while Class Inheritance (introduced in ES6) provides a more structured syntax using class and extends.
2. Can a class inherit from multiple classes in JavaScript?
No, JavaScript does not support multiple inheritance directly. However, you can achieve similar behavior using mixins.
3. How do you call a parent class method from a child class?
You can use the super keyword to call a parent class’s method within a child class.
Example:class Parent {
sayHello() {
console.log("Hello from Parent");
}
}
class Child extends Parent {
sayHello() {
super.sayHello(); // Calls Parent's method
console.log("Hello from Child");
}
}
4. What happens if a method is not found in a child class?
JavaScript searches up the prototype chain until it finds the method or returns undefined if it’s not found.
5. Is inheritance mandatory in JavaScript?
No, but it is useful for structuring large applications and promoting code reuse.
Summary
JavaScript Encapsulation and Inheritance are essential Object-Oriented Programming (OOP) concepts that help in writing efficient and structured code. Encapsulation ensures data security by restricting direct access to object properties and methods. It hides the internal implementation details and allows controlled access through getter and setter methods, maintaining data integrity and preventing unintended modifications.
On the other hand, Inheritance allows a child class to inherit properties and behaviors from a parent class, promoting code reusability and reducing redundancy. JavaScript supports both prototype-based inheritance and class-based inheritance (ES6), making it easier to build hierarchical relationships between objects. By using encapsulation and inheritance effectively, developers can create scalable, maintainable, and well-organized JavaScript applications.
Understanding JavaScript Static Methods, Constructor Methods, and Prototypes