
Simple VR UI Menu with Interactions and Score Display 2025 -In this, we explored how to create a simple VR UI menu using Unity, which included images, canvas, sprites, and buttons. The goal was to interact with the menu through the VR controller’s trigger button and display a score whenever the trigger was pressed.

We began by setting up the Unity scene, creating the UI elements such as Canvas, Text, Images, and Buttons. Then, we integrated VR interactions using the XR Interaction Toolkit, which allowed us to detect the trigger button press on the VR controller. The script we created handled the score increment and updated the UI each time the trigger was pressed.
Key takeaways:
- UI Setup: We learned how to use Unity’s Canvas and UI elements to create interactive menus in VR.
- VR Interaction: We implemented VR controller input, specifically the trigger button, to interact with the UI.
- Dynamic Feedback: We displayed real-time score updates based on user input, enhancing the interactivity of the VR experience.
- Practical Application: This project highlights the importance of user interaction and real-time feedback in VR, making it more immersive.
By the end of the exercise, students will be familiar with setting up a basic VR UI in Unity, handling user interactions through VR controllers, and dynamically updating UI elements like text. This foundational knowledge prepares students to develop more complex VR applications in the future.
Simple VR UI Menu with Interactions and Score Display 2025
Objective:
In this practical, students will learn how to create a simple user interface (UI) menu using Unity, incorporating images, canvas, sprites, and buttons. The task is to interact with the UI menu through VR trigger buttons and display a score upon each successful trigger interaction.
Theory:
A User Interface (UI) is an essential part of any software application, and its main purpose is to allow users to interact with the program. In the case of virtual reality (VR), a UI should be intuitive and immersive. For VR development, the UI often includes interactive buttons, menus, and score displays, which can be triggered using VR controllers.
In VR, the trigger button on the VR controller can be used to initiate actions. When a user presses the trigger, specific events are fired, like displaying information or interacting with a menu. A score can be used to represent the user’s progress or achievements in a game or application.
Requirements:
- Unity Engine: A game development platform used to create 2D and 3D applications.
- VR Headset (like HTC Vive, Oculus Rift, etc.): For simulating the virtual reality environment.
- Unity XR Toolkit: For handling VR interactions with the controller.
- Visual assets: Images or sprites for the UI buttons and background.
- Basic knowledge of C#: Understanding the basic syntax and functions in C# for scripting in Unity.
Steps:
1. Setting up the Unity Scene:
- Open Unity and create a new 3D project.
- Create a new scene to work with.
- Add a new Canvas object:
- Right-click in the Hierarchy window, then click UI > Canvas. The Canvas is where you’ll place your buttons and other UI elements.
- Add a Text element to the Canvas:
- Right-click on the Canvas, then click UI > Text. This will be used to display the score.
- Change its position and size as needed, and set its default text to something like “Score: 0”.
- Add Image elements for background or UI decorations, if necessary:
- Right-click on the Canvas and choose UI > Image.
- Drag and drop an image file into the Source Image property in the Inspector.
- Create a Button:
- Right-click on the Canvas, then click UI > Button.
- Customize the button with text (e.g., “Press Trigger to Increase Score”).
2. Setting up the VR Interaction:
- Import the XR Interaction Toolkit in Unity:
- Go to Window > Package Manager.
- In the Package Manager, search for XR Interaction Toolkit and install it.
- Add the XR Rig to the scene:
- Go to GameObject > XR > XR Rig. This will allow you to control the camera and hand movements in the VR environment.
- Add an XR Controller to the XR Rig:
- Right-click the XR Rig and select Create Empty. Name it something like “LeftController” or “RightController”.
- Add the XR Controller (Action-based) component to the newly created GameObject.
- Ensure the VR controller’s trigger is assigned to an action (trigger button).
- Add the interaction to detect trigger press:
- In the XR Controller script, assign an action to detect when the trigger button is pressed.
3. Creating the C# Script:
Now, write a C# script to handle the interaction with the VR controller and update the score.
- Create a new C# script:
- Right-click in the Project window and select Create > C# Script. Name it ScoreManager.
- Open the ScoreManager script and write the following code:
using UnityEngine;
using UnityEngine.UI;
using UnityEngine.XR.Interaction.Toolkit;

public class ScoreManager : MonoBehaviour
{
    public Text scoreText; // Reference to the UI Text component
    private int score = 0; // Variable to store the score

    private XRController controller; // Reference to the XR controller
    private InputActionProperty triggerAction; // Input action for the trigger button

    void Start()
    {
        // Assign the controller and input action for the trigger button
        controller = GetComponent<XRController>();
        triggerAction = controller.inputDevice.FindControl(InputFeatureType.TriggerButton);
    }

    void Update()
    {
        // Check if the trigger button is pressed
        if (triggerAction.action.IsPressed())
        {
            IncreaseScore();
        }
    }

    void IncreaseScore()
    {
        score++; // Increase the score by 1
        scoreText.text = "Score: " + score.ToString(); // Update the score text on the UI
    }
}
4. Assigning Objects:
- Attach the ScoreManager script to a GameObject in the scene (e.g., an empty GameObject).
- Drag the Text element from the Canvas into the
scoreTextfield in the ScoreManager script in the Inspector. - Make sure that the XR Rig is properly set up with your VR headset and controllers.
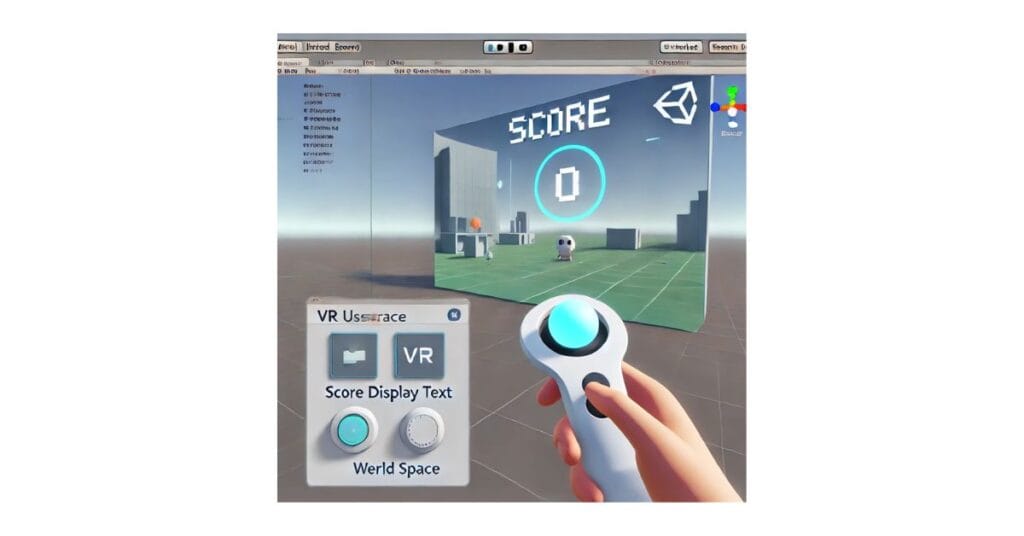
5. Testing the VR Interaction:
- Play the scene in Unity.
- Use the VR controller’s trigger to interact with the UI.
- Each time the trigger is pressed, the score should increase by 1, and the updated score should be displayed on the screen.
Simple VR UI Menu with Interactions and Score Display 2025- Explanation of the Code:
- scoreText: This is a reference to the Text UI element where the score will be displayed.
- score: This integer keeps track of the player’s score.
- XRController: This handles interactions with the VR controller.
- triggerAction: This checks whether the trigger button is pressed on the VR controller.
- IncreaseScore(): This function increases the score by 1 and updates the score display.
Simple VR UI Menu with Interactions and Score Display 2025 – Conclusion:
This practical exercise introduces the students to the creation of a simple UI menu in a VR environment. By utilizing Unity’s XR toolkit, students can interact with virtual objects through the trigger button of their VR controllers. The key learning outcomes include:
- Understanding how to set up a UI menu using Canvas, Images, and Text in Unity.
- Learning to capture VR controller inputs and trigger actions.
- Managing and displaying dynamic data (score) in the VR environment.
- Getting hands-on experience with VR interaction in Unity.
This project also emphasizes the importance of user interaction and real-time feedback in virtual reality, which is essential for creating immersive and engaging experiences in games or applications.
Simple VR UI Menu with Interactions and Score Display 2025 FAQs:
1. What is the purpose of the XR Interaction Toolkit in Unity?
The XR Interaction Toolkit in Unity allows developers to build immersive VR applications by simplifying the process of handling VR inputs, such as controller interactions. It provides easy access to common VR interactions like grabbing, pointing, and pressing buttons, making it essential for developing VR experiences.
2. How do I interact with the VR UI menu using the trigger button?
You interact with the VR UI menu by pressing the trigger button on the VR controller. When the trigger is pressed, the program checks for input and performs an action, such as increasing the score or activating a menu option. This is handled by detecting the input action in the code, which updates the UI accordingly.
3. Why is the score not updating in my scene?
If the score is not updating, check the following:
1.Ensure the ScoreManager script is correctly attached to a GameObject in your scene.
2.Make sure the scoreText field in the script is correctly linked to the UI Text element in the Inspector.
3.Verify that the XR controller is properly configured and the trigger action is assigned to detect button presses.
4. Can I add more UI elements to the VR menu, such as images or text?
Yes! You can easily add more UI elements like images, sliders, or additional text by right-clicking on the Canvas in the Hierarchy and selecting UI > Image or UI > Text. Customize their positions, sizes, and content in the Inspector, and you can add corresponding actions in your script to make them interactive.
5. How do I improve the performance of my VR menu in Unity?
To improve the performance of your VR menu, consider:
Reducing the complexity of UI elements (such as heavy textures or complex animations).
Optimizing the number of active objects in the scene, especially for VR environments with limited resources.
Ensuring that UI elements are only rendered when necessary, such as hiding inactive menus.
Simple VR UI Menu with Interactions and Score Display 2025
| For AR-VR Notes | Click Here |
| For Big Data Analytics (BDA) Notes | Click Here |