
Creating a Unity Scene: Transformations, Video, and Audio
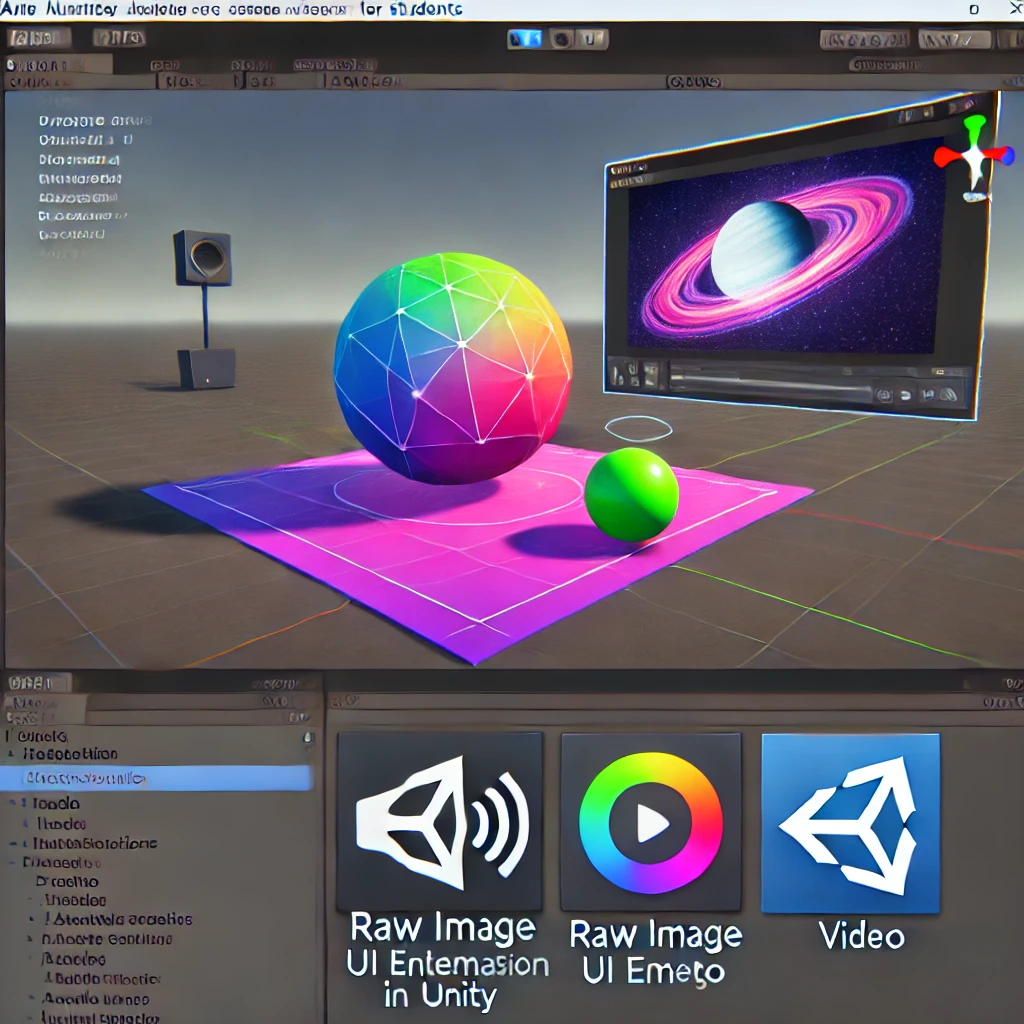
Unity Scene 2025 Transformations Video and Audio – Unity is a powerful tool for creating 3D environments and interactive experiences. Today, we’re going to create a simple Unity scene that includes a cube, a plane, and a sphere, while applying transformations to these objects. We’ll also add a video and audio source to make the scene more engaging.

Unity Scene 2025 Transformations Video and Audio
Requirements
Before we dive into building the scene, here are the requirements:
- Unity Installed: Download and install Unity Hub and Unity Editor from Unity’s website.
- Basic Unity Knowledge: Understand how to create a project, navigate the Unity interface, and add game objects.
- Video and Audio Files: Have an audio file (e.g.,
.mp3) and a video file (e.g.,.mp4) ready to use in the scene.
Step 1: Setting Up the Scene
- Create a New Project:
- Open Unity Hub.
- Click on “New Project” and select the 3D template.
- Name your project (e.g., “TransformationsScene”) and click “Create.”
- Add Game Objects:
- In the Unity Hierarchy, right-click and select 3D Object > Plane. This will be the ground.
- Add a Cube and a Sphere by selecting 3D Object > Cube and 3D Object > Sphere.
Your hierarchy should now look like this:
- Plane
- Cube
- Sphere
Step 2: Applying Transformations
Transformations in Unity involve changing an object’s position, rotation, and scale. Let’s apply these transformations to the objects in our scene.
- Transform the Plane:
- Select the Plane in the Hierarchy.
- In the Inspector panel, change the Scale to
(5, 1, 5)to make it larger and cover more area.
- Transform the Cube:
- Select the Cube.
- Set its Position to
(0, 0.5, 0)to place it slightly above the ground. - Set its Rotation to
(45, 45, 0)to tilt it diagonally. - Set its Scale to
(2, 2, 2)to make it larger.
- Transform the Sphere:
- Select the Sphere.
- Set its Position to
(2, 1, 0)to move it to the side and slightly above the ground. - Set its Scale to
(1.5, 1.5, 1.5)to make it bigger.
Now, you have a plane, a rotated cube, and a resized sphere in the scene.
Step 3: Adding a Video
- Import a Video File:
- Drag and drop your video file into the Assets folder in Unity.
- Create a Video Player:
- Right-click in the Hierarchy and select UI > Canvas. This will serve as the parent for your video.
- Right-click on the Canvas and select UI > Raw Image. This will be the screen where your video plays.
- Resize the Raw Image by adjusting its Rect Transform in the Inspector.
- Add a Video Player Component:
- With the Raw Image selected, go to the Inspector and click Add Component.
- Search for “Video Player” and add it.
- Connect the Video:
- In the Video Player component, assign your video file to the Video Clip field.
- Set the Render Mode to “Render Texture” and attach it to the Raw Image.
When you press Play, the video will play on the screen.
Code to Control the Video Player
To control the video (e.g., play, pause, restart), create a script named VideoControl and add the following code:
using UnityEngine;
using UnityEngine.Video;

public class VideoControl : MonoBehaviour
{
    public VideoPlayer videoPlayer;

    void Update()
    {
        if (Input.GetKeyDown(KeyCode.Space))
        {
            if (videoPlayer.isPlaying)
                videoPlayer.Pause();
            else
                videoPlayer.Play();
        }

        if (Input.GetKeyDown(KeyCode.R))
        {
            videoPlayer.Stop();
            videoPlayer.Play();
        }
    }
}
Attach this script to the Raw Image or Canvas and drag the Video Player into the VideoPlayer field in the Inspector.
Step 4: Adding Audio
- Import an Audio File:
- Drag and drop your audio file into the Assets folder in Unity.
- Add an Audio Source:
- Right-click in the Hierarchy and select Audio > Audio Source.
- In the Inspector, assign your audio file to the Audio Clip field.
- Check the box for “Play on Awake” so the audio starts playing when the scene starts.
Code to Control Audio Playback
To control the audio, create a script named AudioControl and add the following code:
using UnityEngine;

public class AudioControl : MonoBehaviour
{
    public AudioSource audioSource;

    void Update()
    {
        if (Input.GetKeyDown(KeyCode.M))
        {
            if (audioSource.isPlaying)
                audioSource.Pause();
            else
                audioSource.Play();
        }

        if (Input.GetKeyDown(KeyCode.S))
        {
            audioSource.Stop();
        }
    }
}
Attach this script to the Audio Source and ensure the AudioSource field is properly assigned in the Inspector.
Step 5: Adding Rotation to the Cube
Let’s make the cube rotate continuously to add some movement to the scene.
- Create a Script:
- Right-click in the Assets folder and select Create > C# Script. Name it
RotateCube. - Double-click the script to open it in your code editor.
- Right-click in the Assets folder and select Create > C# Script. Name it
- Add the Code:
using UnityEngine;

public class RotateCube : MonoBehaviour
{
    public float rotationSpeed = 50f;

    void Update()
    {
        transform.Rotate(Vector3.up, rotationSpeed * Time.deltaTime);
    }
}
- Attach the Script:
- Drag and drop the
RotateCubescript onto the Cube in the Hierarchy. - In the Inspector, set the Rotation Speed to
50.
- Drag and drop the
When you press Play, the cube will rotate continuously.
Unity Scene 2025 Transformations Video and Audio – Conclusion
In this tutorial, we created a simple Unity scene with a plane, cube, and sphere. We applied transformations to these objects, added a video player to display a video, and included an audio source to play background music or sound effects. Additionally, we wrote scripts to control the video, audio, and add rotation to the cube.
By following these steps, you now understand how to:
- Work with transformations (position, rotation, scale).
- Add video and audio components to a scene.
- Write and attach Unity scripts for interactivity.
This is just the beginning of what you can achieve with Unity. Experiment with different transformations, assets, and scripts to create more complex and interactive scenes. Happy creating!
Unity Scene 2025 Transformations Video and Audio FAQs
Q1: Can I use different objects instead of a cube, plane, and sphere?
Absolutely! You can replace these with any 3D objects you like, such as a capsule or a custom model.
Q2: How do I make the video loop?
In the Video Player component, check the box labeled “Loop” to make the video play continuously.
Q3: Can I control the audio volume?
Yes! In the Audio Source component, adjust the “Volume” slider to control the audio level.
Q4: What other transformations can I try?
You can experiment with different positions, rotations, and scales to see how objects behave in your scene.
Unity Scene 2025 Transformations Video and Audio
| For AR-VR Notes | Click Here |
| For Big Data Analytics (BDA) Notes | Click Here |